まず、Windows のデスクトップ上に share_with_vb フォルダを作成する。

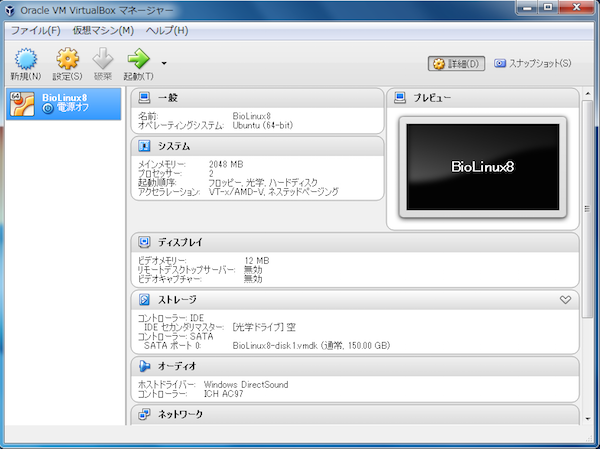
次に VirtualBox を起動し、仮想マシンを選択してから「設定」をクリックする。
設定ウィンドウが起動してから「共用フォルダー」のタブをクリックする。
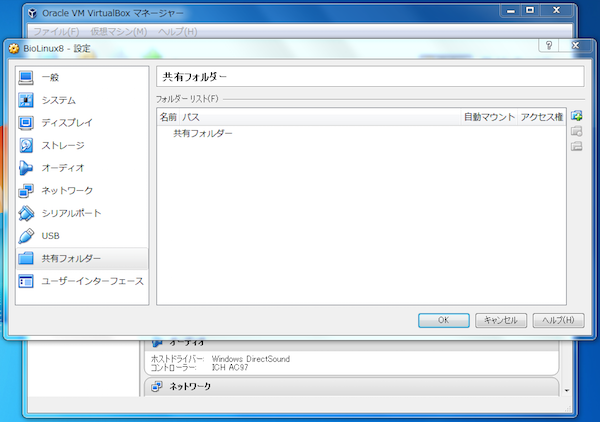
ウィンドウの右側にある  アイコンをクリックし、さきほど作成したデスクトップ上にある share_with_vb フォルダを選んで「OK」をクリックする。なお、この際に「自動マウント」はチェックしないこと。

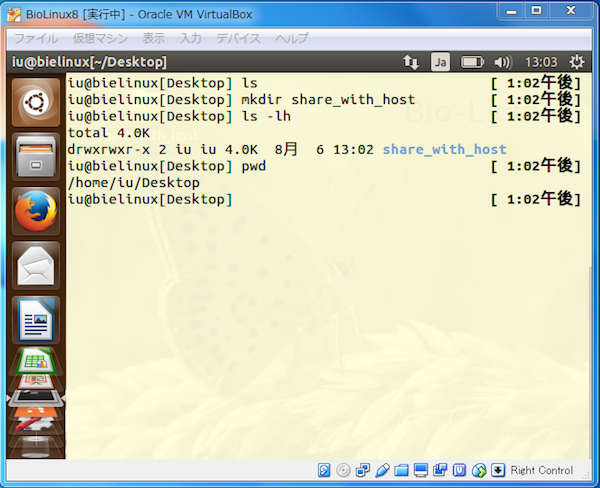
次に、仮想マシンを起動し、仮想マシン上で設定を行う。仮想マシンのデスクトップ上に share_with_host フォルダを作成し、pwd コマンドでパスを確認する。
次に、dkms ライブラリーをインストールする。
sudo apt-get install dkms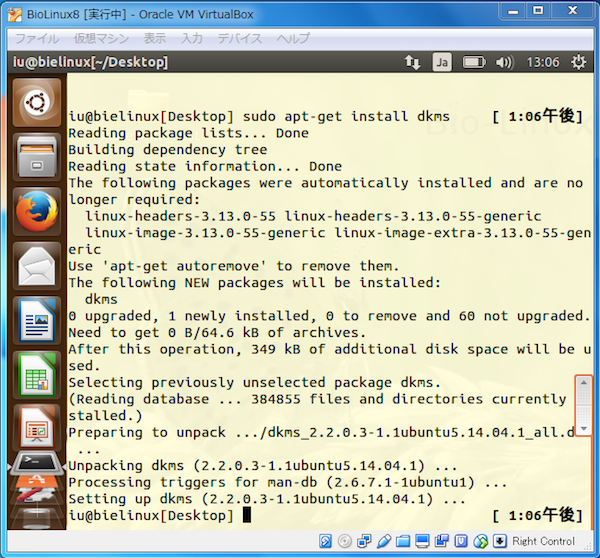
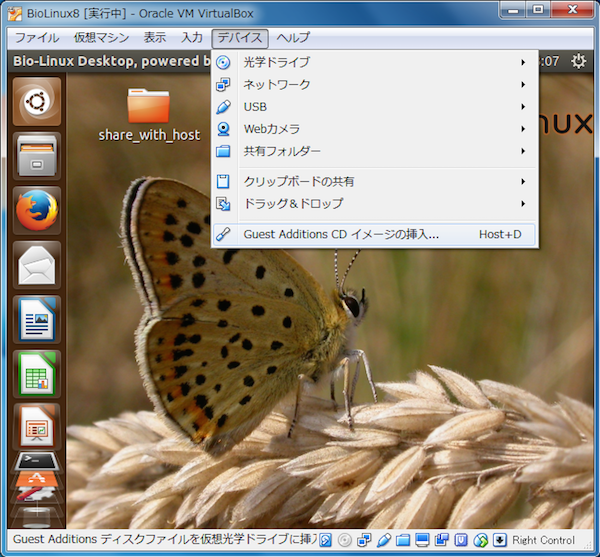
インストールが完了してから、VirtualBox のメニューから「デバイス」>「Guest Additions CD イメージの挿入」をクリックする。
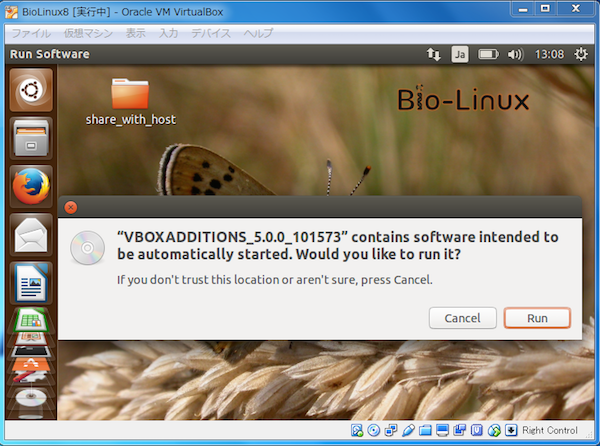
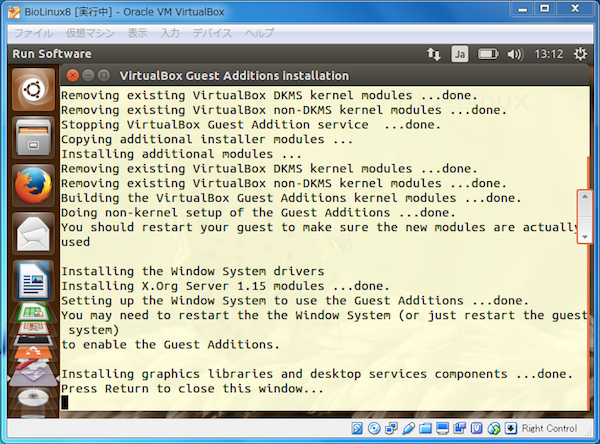
「Run」をクリックする。
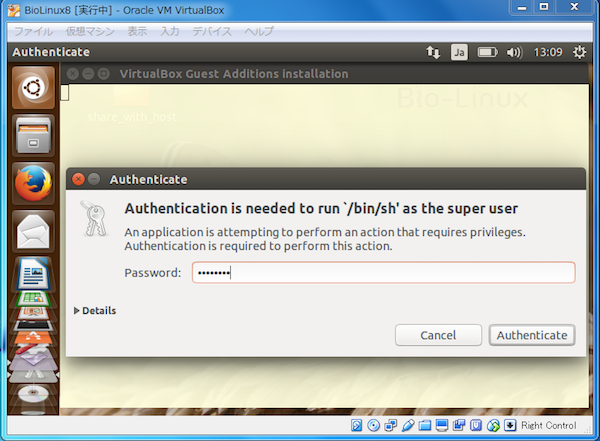
パスワードが求められるので、ログイン時に利用したパスワードを入力する。
「Press Return to close this window」がでたら Enter キーを押す。
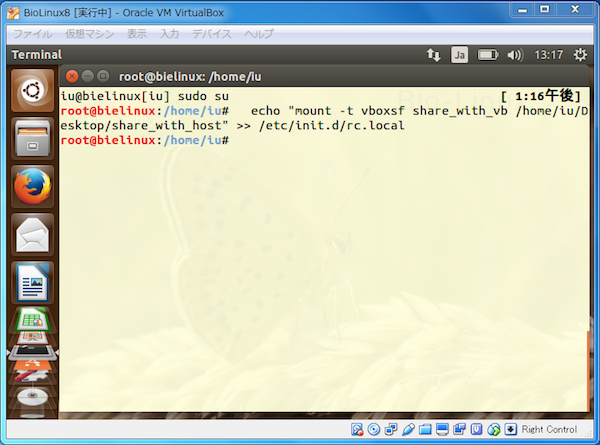
次に、マウントスクリプトを /etc/init.d/rc.local に追加する。
sudo su
echo "mount -t vboxsf share /home/iu/Desktop/share_with_host" >> /etc/init.d/rc.local